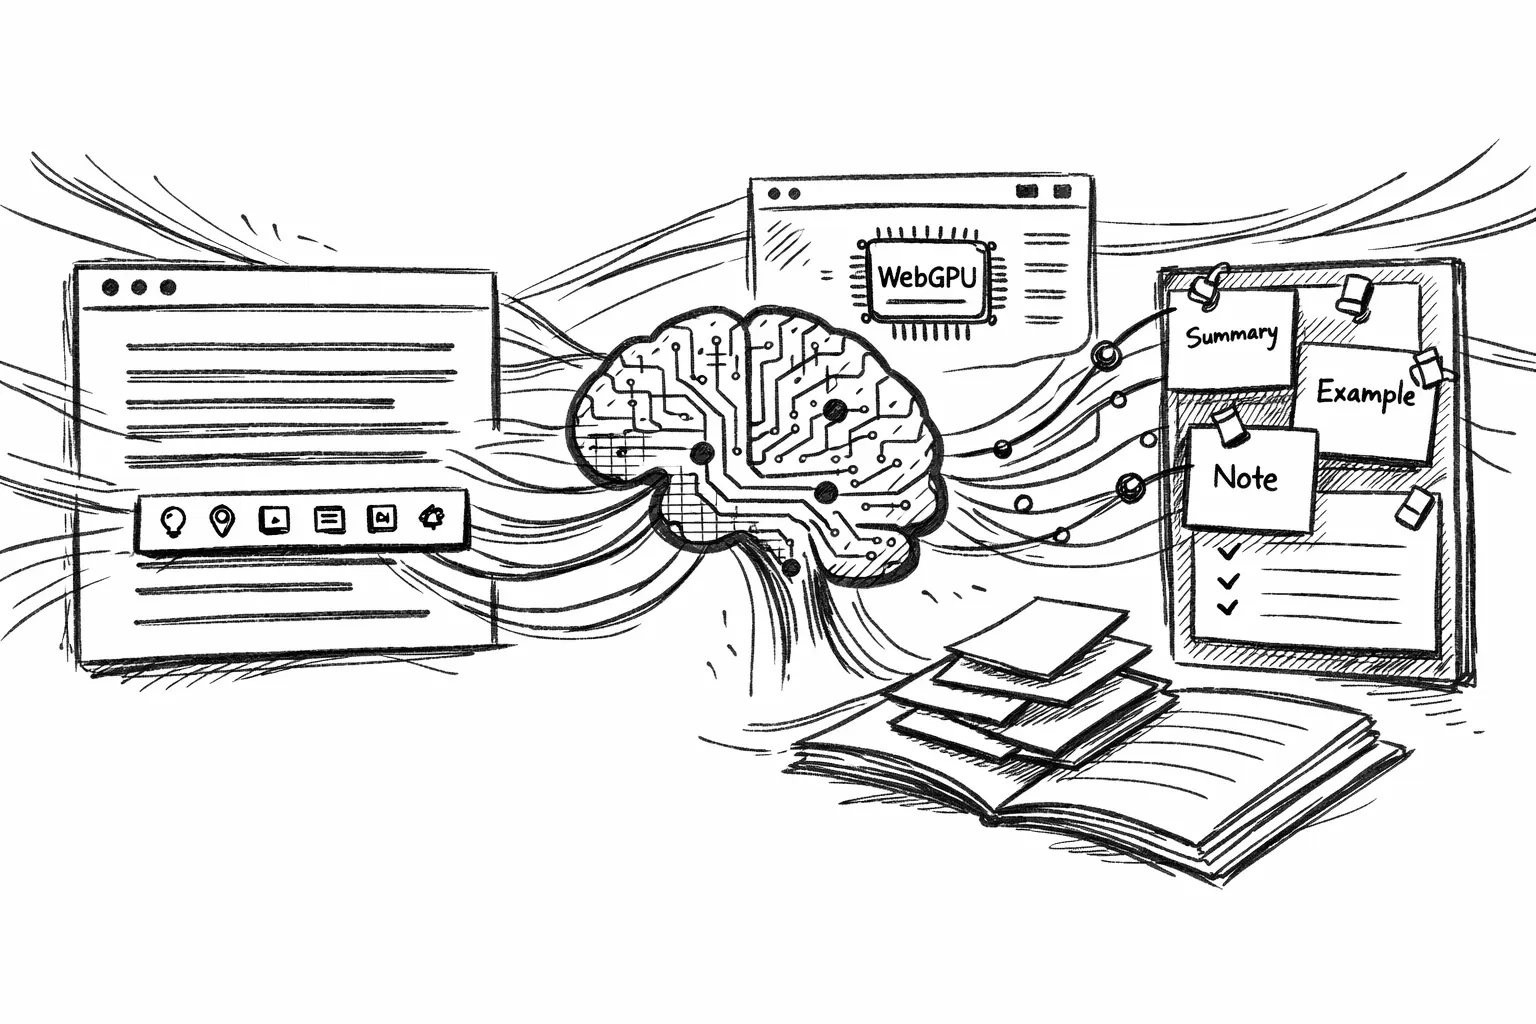
Powering annotations on articles using LLM
Implementing highlight-to-annotate using WebLLM for in-browser inference.
Jan 16, 2026
I read a lot of writing the same way I review code. I don’t just consume it, I interrogate it.
- What does this mean in plain English?
- Can you give me an example I can remember?
- What’s the one-line takeaway?
That’s easy when we’re in our own notes app. It’s weirdly hard when you’re mid-article on the open web. Note-taking and annotating apps exist, but I usually want my annotations to remain local (or at least stay in that context). I don’t want sync across devices since I rarely hand off reading sessions to another device I own.
While trying to improve my experience over other blogs, I built a Chrome extension that annotates/explains/simplifies text for me. After using it since June 2025, I added that same feature to this blog as well. You can try it right now:
- just highlight text in any article o this site
- a dialog will ask for a type of annotation and generate it
- you can pin it as a note while you keep reading
That’s it. This post is a “what worked” dissection of how I implemented it, and why I chose to power it with WebLLM, which runs LLMs inside the browser.
What the feature does (the tiny workflow)
When you select any passage/text on a post:
- A small toolbar shows up right under the selection.
- You choose an action:
- Explain: clarify concepts, keep it short, keep it specific.
- Exemplify: give a concrete example.
- Summarize: one paragraph max.
- Beginner friendly: simplify vocabulary.
- Note: your custom note.
- A response shows up inline.
- If it’s useful, you can 📌 Pin that annotation.
Pinned notes collect in a right-side panel, and the original highlight becomes persistent (yellow), so you can visually map what you asked to what you learned.
No “chat UI”. No separate page. Just reading, thinking, and keeping the thought. Everything happens in your browser.
Why highlight-to-annotate felt worth building
It’s been a while since I coded. My last code check-in that made it to production on any system/platform was more than a quarter ago, so I had an urge to write computer instructions again. And I noticed a pattern in my own learning:
I don’t remember paragraphs. I remember my reaction to a paragraph, or the change it caused in my thinking.
The highlight is the “look here” signal. The annotation is “why it matters”.
So the goal wasn’t to add AI to the blog just because I wanted to code. It was to compress understanding at the exact moment when I am curious, without switching contexts or tabs.
The core design choice: keep it in the browser
This feature is powered by WebLLM. That choice shaped the implementation more than anything else. There is no server-side inference endpoint to operate, no tokens or keys for readers to handle, and no “paste your text into the cloud” feeling. Reading without internet comes out of the box, and the reader does not need to leave the page to get an annotation.
WebLLM also aims for OpenAI API compatibility (streaming, JSON-mode, etc.), which makes it a really practical primitive to build on.
Implementation: the pieces that mattered
1. A floating toolbar that doesn’t fight the reader
When the user releases the mouse, the feature reads the selection range, computes the bounding rect, positions a small toolbar under it, and disappears instantly if the selection collapses or the user clicks elsewhere.
The “feel” matters more than the code: don’t jump, don’t cover the text, and don’t require precision. I kept the actions intentionally small: five buttons cover 90% of what I want while reading.
2. Prompts that behave like tools, not chat
Each action is basically a tiny prompt template (except for the last option: Note):
- Explain: Clarify concepts, keep it short, keep it specific to the quote.
- Exemplify: Give a concrete example that matches the author’s point.
- Summarize: One paragraph max, no extra “as an AI…” fluff.
- Beginner friendly: Simplify vocabulary without losing the idea.
- Note: Just note something down. No AI fluff here.
The important part: the prompt is anchored to the selection, not to “the whole post”. That keeps responses focused and predictable.
3. Running WebLLM without freezing the page
In-browser inference is amazing, and also heavy. So you want to load the model once, choose it carefully, stream tokens with loading states, and keep work off the main thread when possible.
WebLLM is explicitly built for in-browser inference with WebGPU, and their docs call out WebGPU-compatible browsers as a requirement.
My UX rule here was simple: always show progress (even if it’s just “Thinking…”), and never block scrolling.
4. “Pin as note” is the feature that makes it stick
Inline popovers are helpful, but they’re transient. Pinning turns the interaction into an artifact. The highlight stays. The note becomes a sidebar object with a title and generated content.
You can keep reading and build a small stack of “things I learned from this post”. This is the smallest possible form of “active reading” I could bake into the blog.
What worked (and what I’ll iterate)
- The workflow is fast enough that I actually use it.
- The UI stays out of the way until you ask for it.
- WebLLM makes the privacy story straightforward because it’s designed to run everything inside the browser.
What I’m still iterating
- Better anchoring so notes survive layout jumps more gracefully.
- Smarter context windows (sometimes the best explanation needs one paragraph above).
- A better way to capture reactions on the blog posts. If you have suggestions and want to experiment, reach out to me!
The meta takeaway
This is the kind of thing I love building. Not a big feature. Not a “platform”. Just a small capability that changes how I engage with content in my browser.
If it feels invisible but useful, then it worked. And if it ever feels noisy, heavy, or “AI-first”… I’ll delete it.